Figure 1 shows the “Haplotype tools” tab page selected. The “Haplotype tools” tab page contains tools for haplotype analysis.
On the ‘Neighboring SNPs’ tab page, entering the name of an SNP marker will activate the [Confirm] button. Clicking the [Confirm] button will then activate both scrollbars located above and below that button (Figure 1).
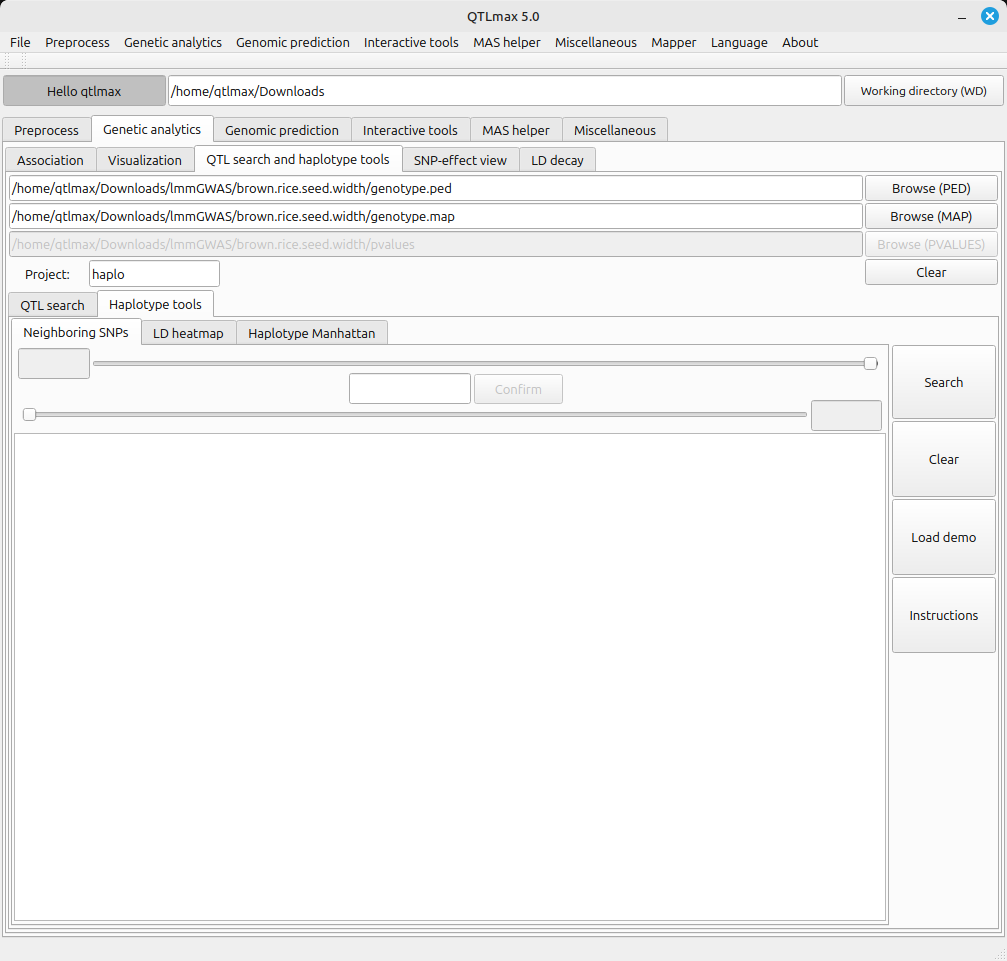
(Figure 1)
As you move the scroll bar, you’ll see the number in the text box at the end of the scroll bar change. This number indicates the position of the selected marker relative to your chosen marker. For example, if the number displayed at the left end is 10, it means the start point of the genome window is the 10th SNP marker to the left of the entered SNP (id5002751). Similarly, if the number displayed at the right end is 10, it means the end point of the genome window is the 10th SNP marker to the right of the entered SNP (id5002751).
Clicking the [Search] button will display the names of the markers within the selected range. (See Figure 2)

(Figure 2)
Once the LD window range is defined, you can plot the LD heatmap. (Click on the below link)
Creating LD heatmaps & Manhattan plots from a defined genomic window
One thought on “How to set genomic window range”